When connecting locations, rather than a thin line, you may want a wider area making the connection. Perhaps you are designing a wildlife corridor between two areas of habitat, or a powerline that will travel through a densely populated area. Either situation is a perfect application for a corridor, a wider path connecting locations. The new Least Cost Corridor tool identifies corridors where the total travel cost is less than a specified threshold. This tool was developed to take advantage of the distortion–free algorithm implemented in the newer distance tools and to enhance the corridor analysis capabilities of the ArcGIS Spatial Analyst extension.

An earlier tool, Corridor, was used for creating corridors. This tool is based on calculating between cell centers and did not take advantage of the newer, more accurate distance algorithm. As a result, inconsistencies could occur, such as certain cells being disconnected from the corridor. By using the improved distance algorithm, the Least Cost Corridor tool resolves the possibility of creating disconnected cells in the output result. Additionally, the Least Cost Corridor tool has enhanced analysis capabilities.
Creating a corridor with the Corridor tool required use of another geoprocessing tool to apply a threshold and obtain the final corridor result. With the Least Cost Corridor tool, you can create the corridor in a single step because it has parameters for applying an accumulative cost threshold or a percent of least cost threshold. The percent of least cost option allows you to create a corridor relative to the least cost without having to know the least cost value ahead of time. Whichever way it is specified, the threshold determines which cells are included in the corridor and allows for more streamlined and informative analyses.
It’s easy to implement Least Cost Corridor in your Distance workflow as the inputs come directly from the outputs of existing Distance tools. This workflow starts by running either the Distance Accumulation or Distance Allocation tool for each of the two regions you want to connect with the same analysis settings. From this you get accumulative cost and the back direction rasters for each region; a total of four rasters. You then use these rasters as the inputs for Least Cost Corridor. The Least Cost Corridor tool combines the distance rasters and applies the threshold you define to create the final corridor result.
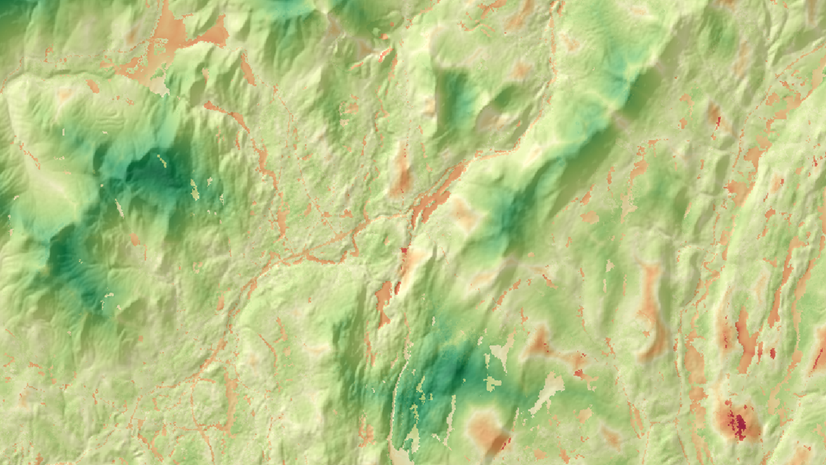
As an example, say you need to plan a wildlife corridor between two patches of bear habitat as part of a conservation effort. These bear habitats are located on either side of a developed area, and you need to design a safe corridor for the bears to travel between habitats. You want to select areas that are safe for bears to be in, areas that are forested with minimal development, and located away from roads and people. To capture these preferences, you can create a cost surface based on land-use as well as distance from roads and human development. In this situation, developed areas and land very close to development incurs a high cost. Forested land and areas farthest from development have low costs. Utilizing this cost surface as input to the Distance Accumulation tool, you can then use Least Cost Corridor to create the corridor between these regions.

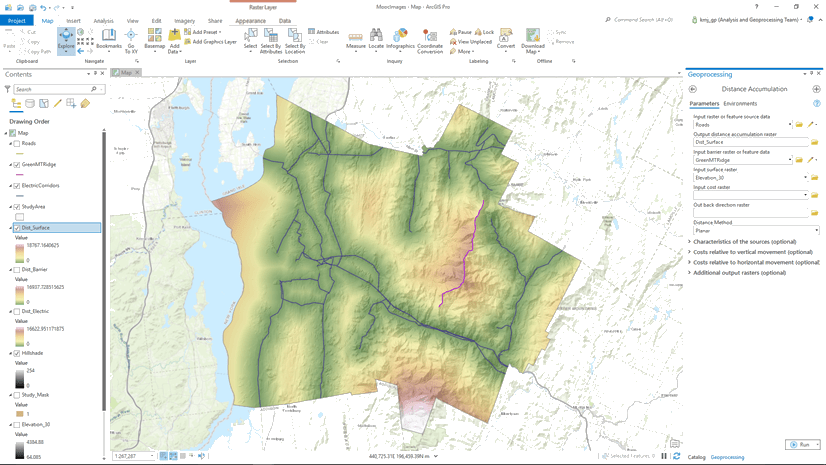
To obtain the inputs for the Least Cost Corridor tool, you will run the Distance Accumulation tool twice. Once for the blue region and once for the pink region. Use the same cost surface and analysis settings. The resulting outputs are an accumulative cost distance and a back direction raster for each region.
In the Least Cost Corridor tool, you input the four rasters and select an appropriate threshold for the situation. In this example, a 1% threshold is applied so that overall cost is minimized, and a sizeable area is still identified.

In the final corridor raster, all cells with accumulative cost under the specified threshold are included. The cost is lowest towards the center of the corridor and increases as you move outward from the center. There are some thinner parts of the corridor that diverge from the main, thicker area of the corridor. These thinner parts are routing around higher cost areas and are included because they too are below the 1% threshold.
Whether you are interested in creating wildlife corridors, proposing a new hiking trail, or siting a transmission line, the new Least Cost Corridor tool is a powerful addition to distance analysis workflows.
If you are interested in learning more about corridors, please see the following blog post and conceptual documentation:


Article Discussion: