This post was originally published on October 9th, 2023, and has been updated.
ArcGIS Field Maps allows you to create and update your authoritative data for a wide range of data collection projects, enabling you to manage your assets and create a history of maintenance records.
There are a few ways to get started with Field Maps. You can create a new project in ArcGIS Pro, create maps in ArcGIS Online or ArcGIS Enterprise with Map Viewer or Field Maps Designer, or you can start with ArcGIS Solutions.
ArcGIS Solutions is a collection of industry-specific configurations of ArcGIS that are designed to improve operations, provide new insight, and enhance services. ArcGIS Solutions comes with your ArcGIS software and is fully supported. Many solutions include ready-to-use maps for Field Maps, including the Sign Management solution.
In this blog post, we’ll explore the data, layers, maps, and apps included in the Sign Management solution—focusing on the maps made for ArcGIS Field Maps and how you can configure them to meet your sign management needs.
Solution overview
The Sign Management solution delivers a set of capabilities that help state and local governments collect roadway signs and poles, conduct routine inspection and maintenance assignments, and understand asset conditions. While this blog post will focus on collecting and inspecting roadway signs using Field Maps, you can read the following post for a high-level overview of the entire solution: Sign Management Solution Released.
After deploying the solution to your organization, you can use the Field Maps Designer web app to prepare the map used to collect data in the Field Maps mobile app. The solution includes forms for collecting and inspecting street signs and poles, and you’re able to edit these to meet the needs of your project. With Field Maps Designer, you can also prepare the maps to work offline, add geofences for situational awareness, and configure a variety of app settings to set data collection requirements.
Once the map is ready, you can share it for use in the Field Maps mobile app. Your mobile workforce can then access the forms needed to collect data, work offline, and access all the data they need to be successful.
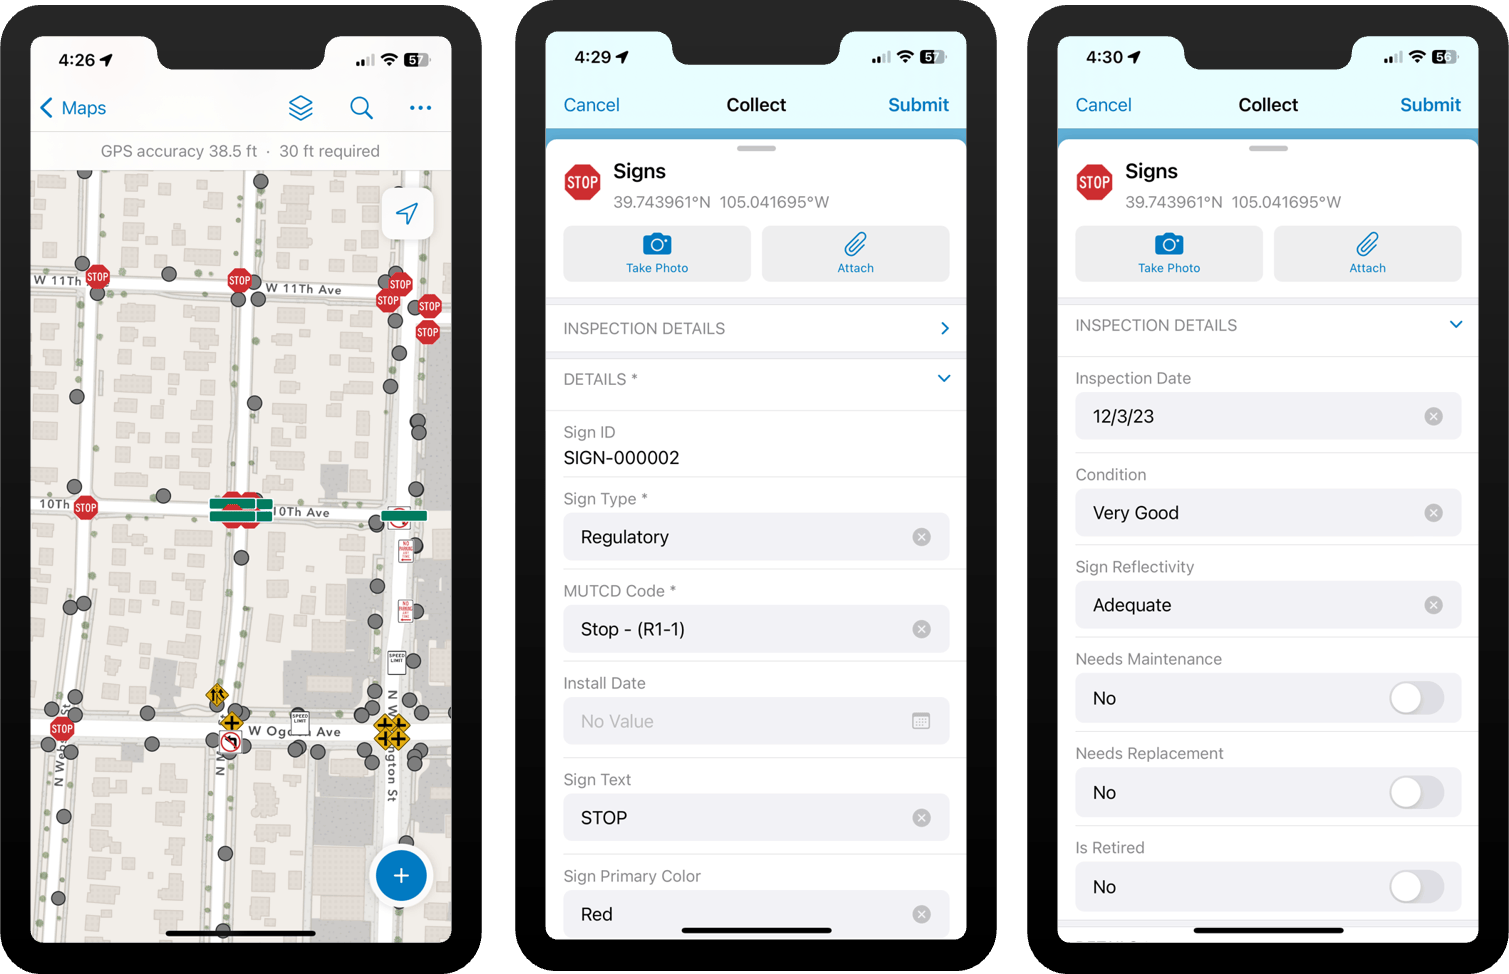
In this blog post, we’ll walk through deploying the Sign Management solution to your organization, preparing the map in Field Maps Designer, collecting, and inspecting data in the Field Maps mobile app, and visualizing the collected data.
Deploy the solution
The first step is to deploy the Sign Management solution to your ArcGIS organization. You can view and deploy all the solutions Esri offers by browsing the ArcGIS Solutions Gallery. After searching for and clicking on the Sign Management solution, click Deploy now (you’ll have to sign into your ArcGIS account if you haven’t already).
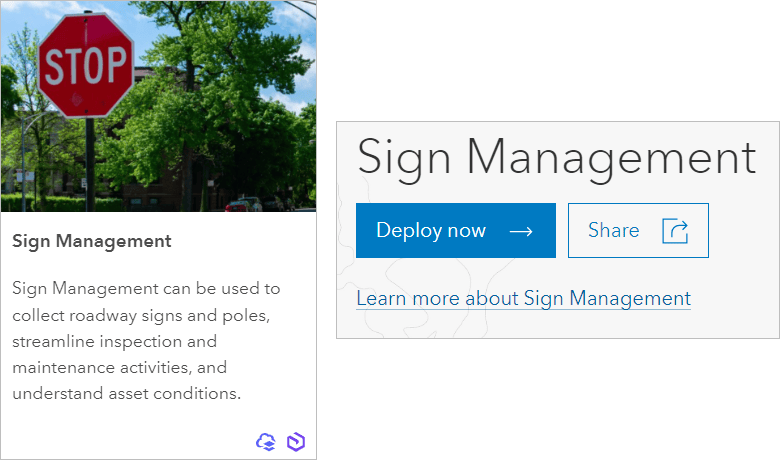
Once loaded, the solution is added to the My solutions tab of the ArcGIS Solutions page.
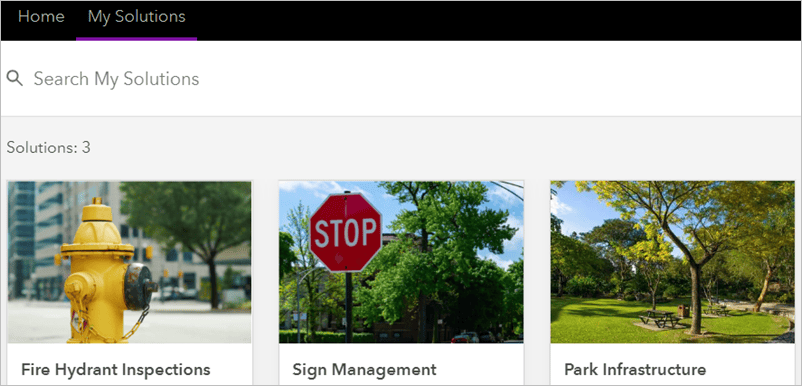
From here, you can click on the solution to open it in your organization and view its contents.
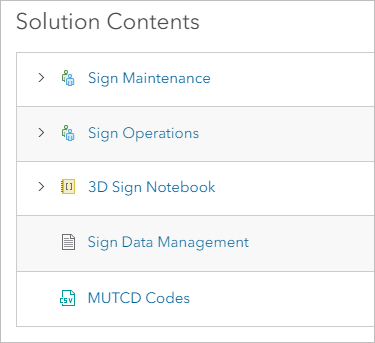
The Sign Management solution includes a variety of content to help you get started. Among this content is a Sign Viewer app for viewing your assets in 2D and 3D, a Workforce project for assigning work to maintain street signs, and a web map of street signs, poles, and related maintenance records. This web map will be the focus of your Field Maps workflow.
Prepare your map
From the Solution Contents section, expand the Sign Maintenance Group drop-down list and click the Sign Editor map to open its item page.
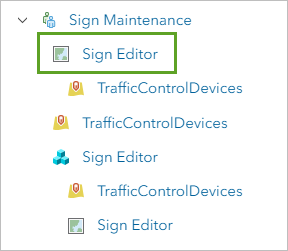
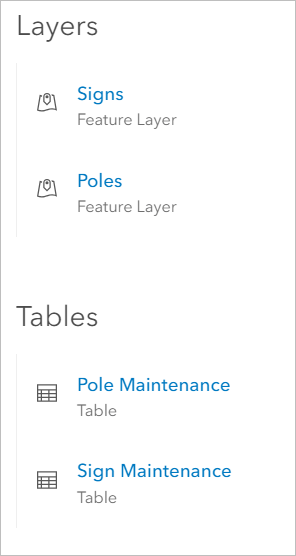
This is the map mobile workers will use to collect data and perform inspections. It includes two feature layers used to inventory assets (Sign and Poles) and two tables used to track maintenance activity over time (Pole Maintenance and Sign Maintenance).
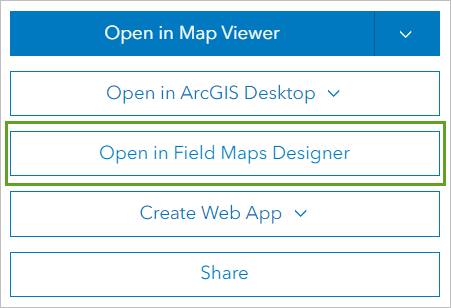
To begin configuring the map in Field Maps Designer, click Open in Field Maps Designer.
Edit map title, summary, and thumbnail
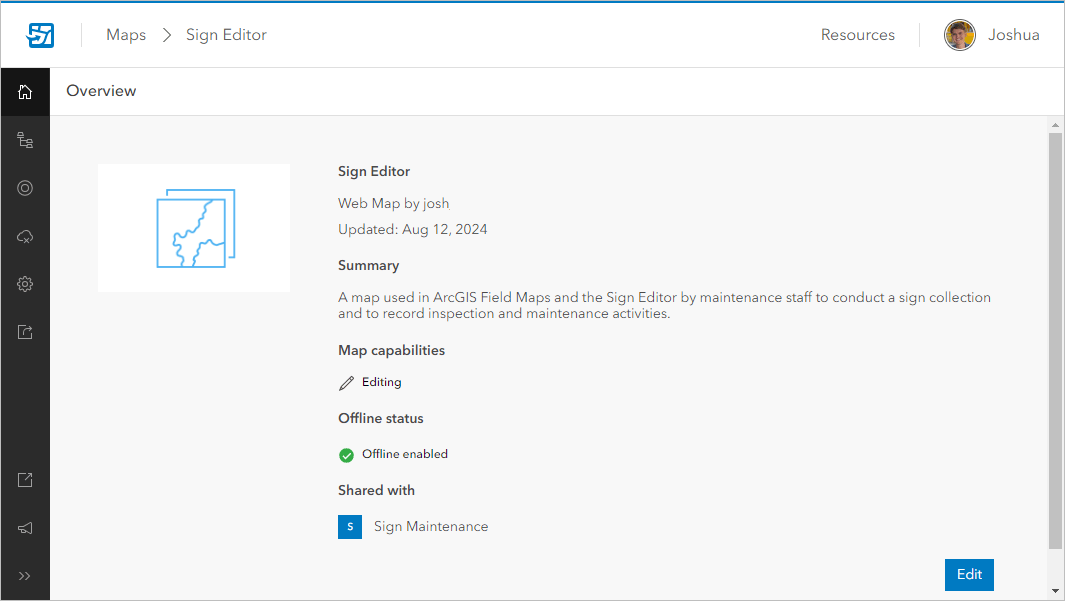
The Overview page for the map opens in Field Maps Designer. Here, you can change the summary, map title, and thumbnail image for the map by clicking Edit. You can update the information here to reflect your organization’s brand and project specific requirements.
Build forms
To build and edit the forms mobile workers will use to collect data, click the Forms page. The Sign Management solution comes with a premade form for each layer and table, including fields for collecting industry specific information. For example, the Signs form is already designed for collecting standard sign data, such as sign dimensions, curb regulations, and the MUTCD code.
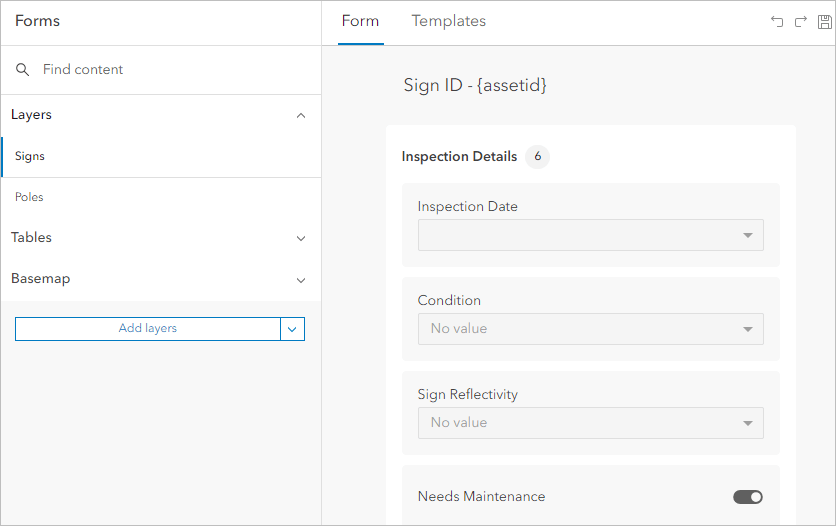
You can edit the elements on each form to meet the data requirements for your organization. You can add new form elements or modify and remove existing ones depending on the data you want collected. There are a variety of ways to customize your form, such as grouping elements together, creating lists of values, and adding logic to calculate field values and conditionally hide or require form elements. To learn all of the different ways you can customize your forms, see the Configure the form help topic.
Manage templates
On the Templates tab of the Forms page, you can view the feature templates that come with the Sign Management solution. Each template corresponds to a different type of sign that can be collected in Field Maps.
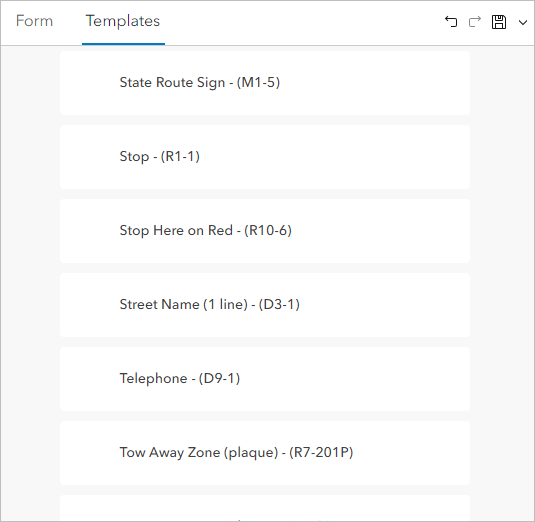
Each feature template has a set of default values that are automatically populated in the form when selected in the mobile app. The templates include standard default values for each sign type, such as MUTCD code, sign color, and sign dimensions.
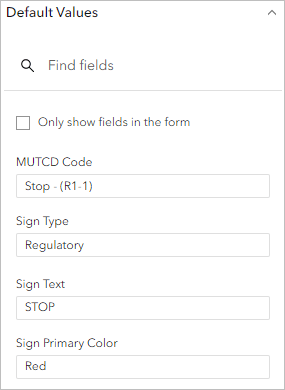
You can customize additional default values based on your organizational requirements to save the time it takes for mobile workers to fill out forms in the field.
Define geofences
Geofences are areas on the map that, when entered or exited, trigger custom alerts or enable location sharing in the Field Maps mobile app. Geofences are defined in Field Maps Designer using existing point, line, or polygon layers.
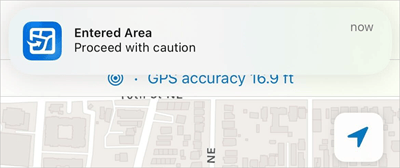
While geofence layers are not currently included in the Sign Management solution, you can add existing layers from your organization to use as geofences in the sign map. In this example, I’m using a hazardous areas layer to create a geofence that lets mobile workers know when they’ve entered a dangerous area.
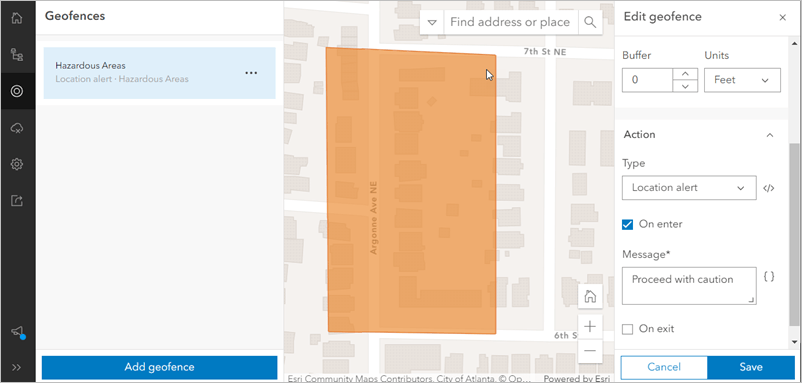
Mobile workers will receive a notification on their device when they enter the geofence.
To learn more about geofences see, the Add geofences help section.
Offline settings
Depending on where mobile workers are collecting data, they may not have an internet connection. With Field Maps Designer you can prepare maps for offline use from the Offline page.

You can ensure the map’s content can be taken offline, create map areas to simplify the download process in Field Maps, adjust attachment and feature delivery settings while syncing data, and select the basemap used to take the map offline.
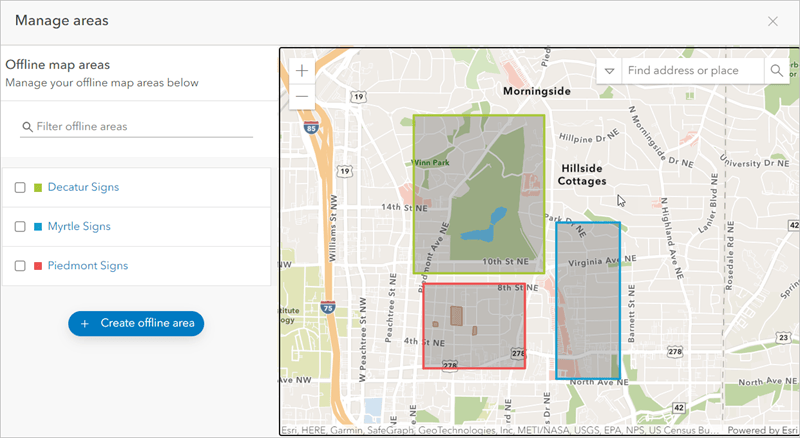
Once you prepare the map for download, mobile workers can collect data offline just as they would online, syncing their data updates once they regain connectivity. To learn more about how to prepare maps for download in Field Maps, see the Configure the map to work offline help section.
App settings
There are a variety of additional settings you can configure to customize the data collection experience in Field Maps based on your organization’s requirements. You can configure these settings from the App settings page in Field Maps Designer.
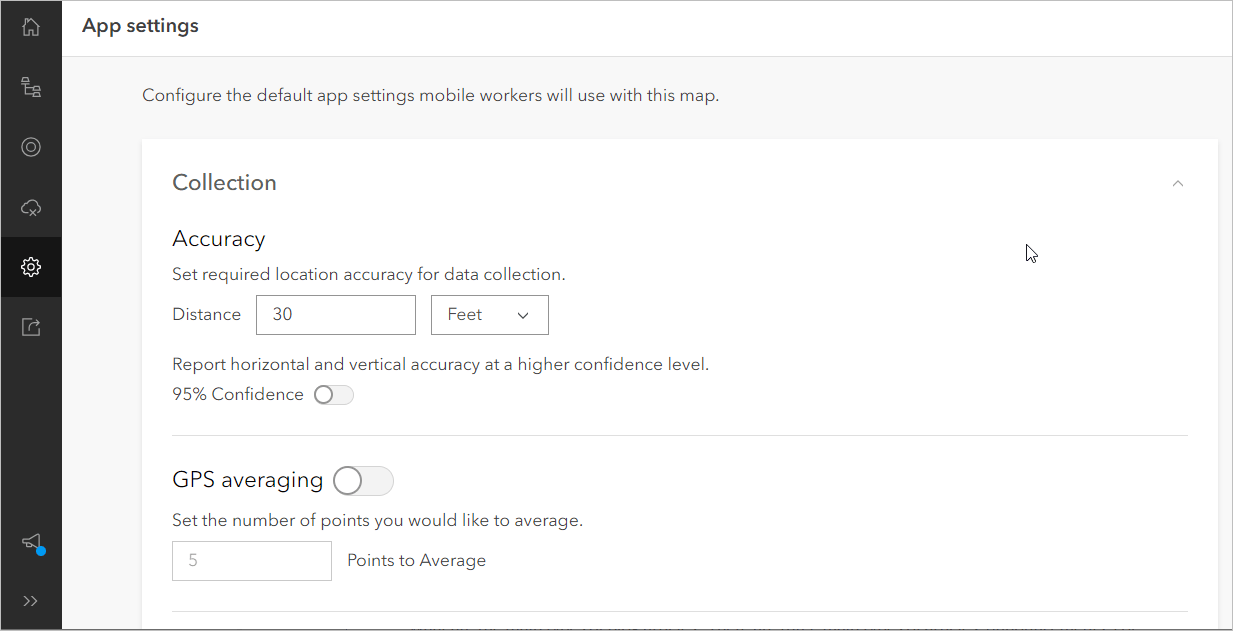
You can configure settings such as required location accuracy, the number of points used for GPS averaging, whether location sharing is required to use the map, and layer filters that allow mobile workers to filter features by attributes when viewing the map. The settings configured on this page apply to the map on each device it’s deployed to.
Share and deploy the map
Once you’re done preparing your map, it’s time to share and deploy it. From the Sharing page in Field Maps Designer, you can set the sharing level for your map and deploy it using a provided link or QR code. The Sign Management solution comes with a Sign Maintenance group that the map is shared to by default. Once you add users to this group, they’ll have access to the map in Field Maps.

Outside of what’s shown on this page, you can use app links and mobile device management (MDM) to deploy the map as well. To learn more, see the Deploy your map help topic.
Collect street sign information
After you share the map with mobile workers, they can access it in the Field Maps mobile app and begin collecting data and performing inspections.
Collect data
Field Maps can be used to create an inventory of signs in your community. Mobile workers can go out into the field, select a feature template, and fill out the form configured in Field Maps Designer for each sign they come across. When a form is submitted, a point (the sign) is added to the layer, with a unique symbol for each sign type.
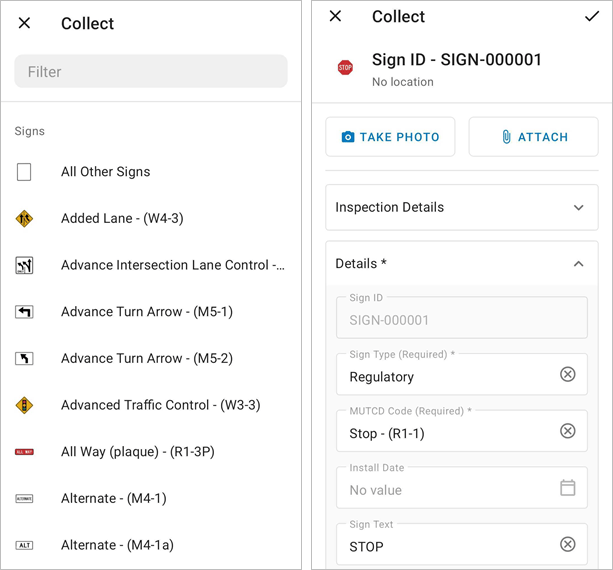
Field Maps can also be paired with GNSS receivers if your organization requires high-accuracy data collection. As signs are collected, the data infrastructure for signs within your community is built and can be viewed in other maps and apps within your organization. For more information on collecting data in Field Maps, see the Capture and High-accuracy data collection help topics.
Perform inspections
Once your sign inventory is complete, you can record inspection and maintenance activities with the tables related to the sign and pole layers. The default sign maintenance form allows mobile workers to enter the type of maintenance being done, the date and status of the maintenance, and any other notes. Once the form is filled out and entered, a new record is added to the table, contributing to a history of maintenance for the sign feature.

Tapping on any sign feature opens the pop-up, which is configured to display information about the sign and its latest inspection.

Visualize your data
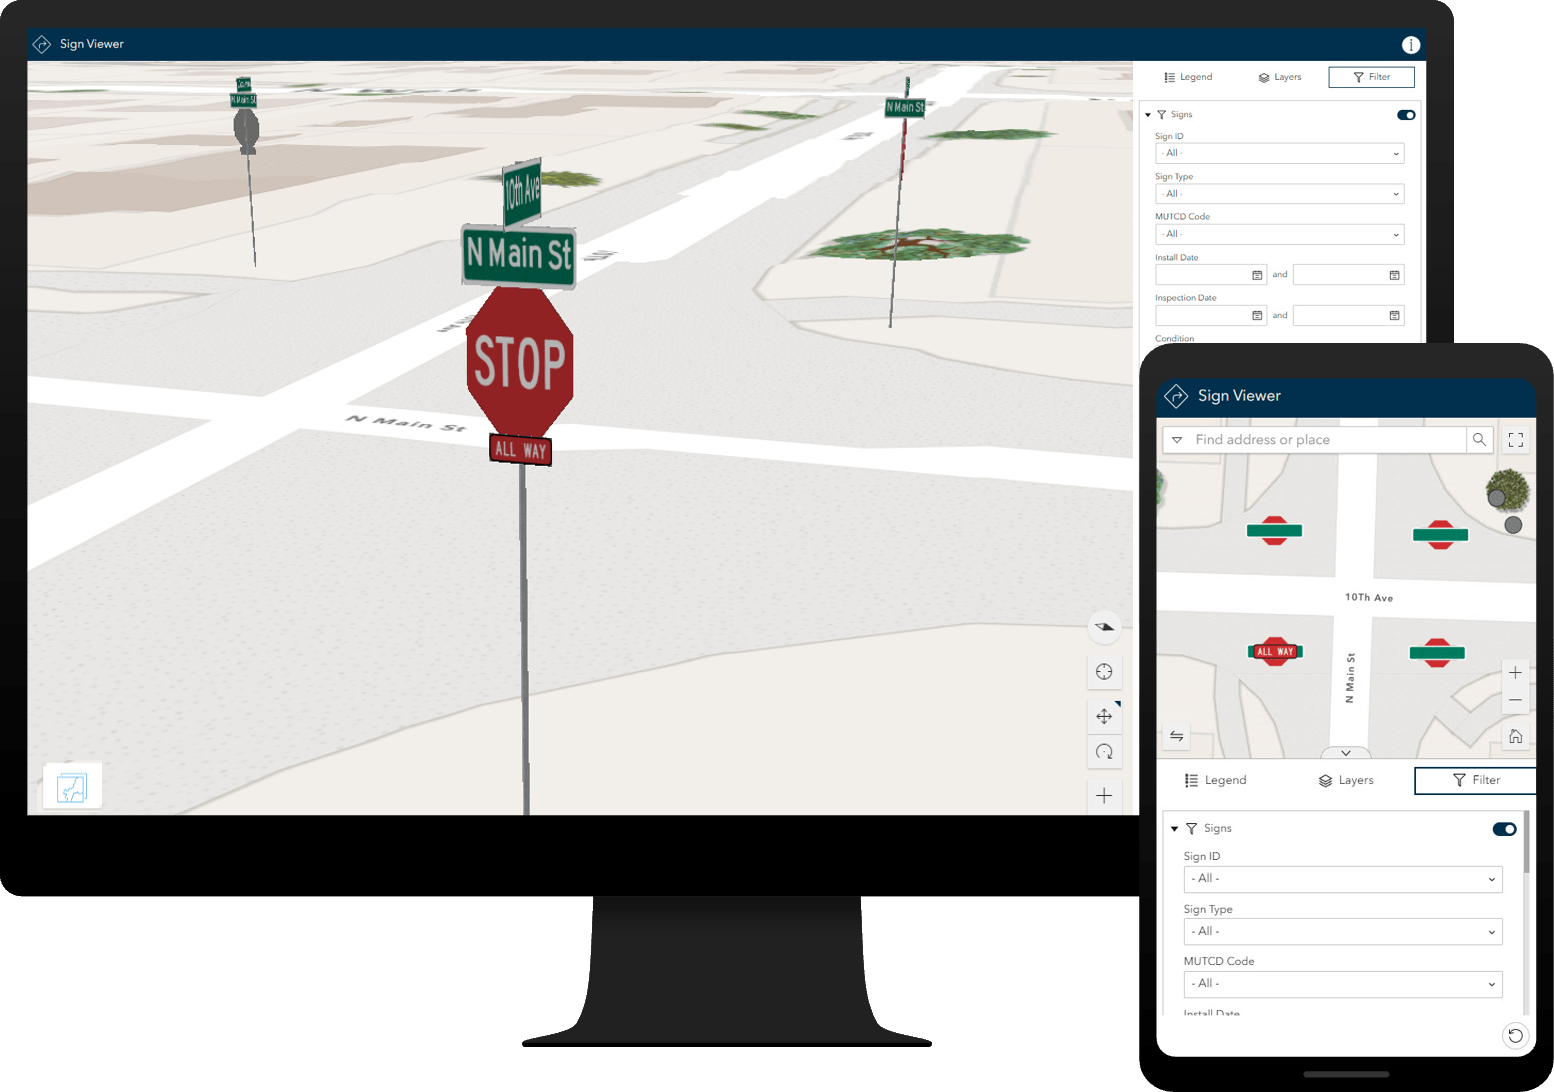
After the signs in your community are collected in Field Maps, there are many different ways to analyze and view this data in ArcGIS. One such way is with the solution provided Sign Viewer app, which allows you to view your sign assets in 2D and 3D. When viewing signs in 2D, it can sometimes be difficult to understand where signs are in relation to one another, especially when there’s a high density of assets in one area. With 3D visualization, you can view signs as if you were actually in the field—improving your understanding of their layout and enabling you to make informed decisions.
More to explore
We’ve walked through the Sign Management solution as it relates to ArcGIS Field Maps, however there is so much more that comes with it that can help you kickstart and maintain a robust sign management infrastructure. There are also many additional ways to extend Field Maps and plenty of other solutions that are included with your ArcGIS Subscription. To continue learning about all that ArcGIS Field Maps and ArcGIS Solutions have to offer, check out the following resources:



Commenting is not enabled for this article.