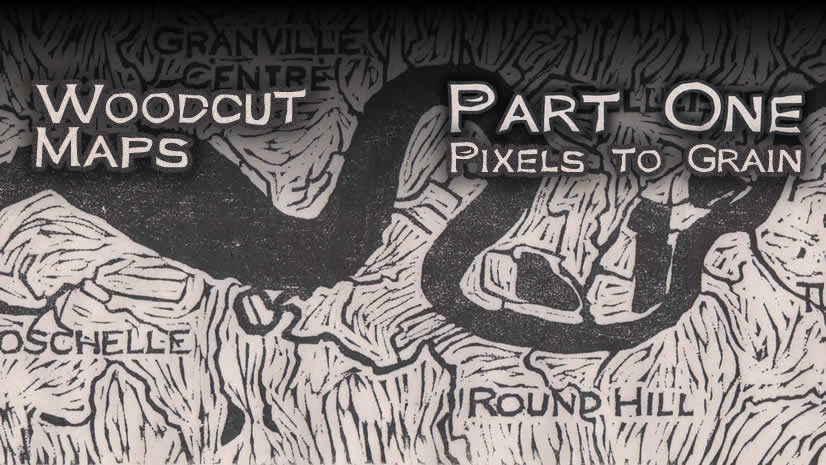
- Part I: Pixels to Grain
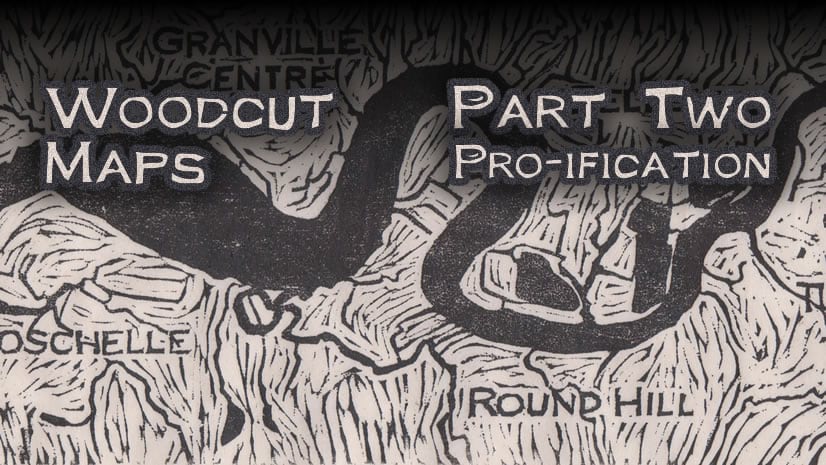
- Part II: Pro-ification
- Part III: Custom Fonts
- Part IV: Wild With Styles
You are a clever cartographer. You don’t waste time trying to reinvent the wheel. No, you look to other beautiful maps for inspiration. You copy color palettes and scale bars and road symbols. But what about fonts? There is many a gorgeous font – especially on maps – which cannot be downloaded. It may have been drawn by hand. Or it may exist in a type drawer in an antique shop somewhere, and so far no one’s taken the time to digitize it. Poor forgotten font!
In this tutorial I take my own hand-carved woodcut text and turn it into a digital font that can be used on digital maps. Then I show you how to further manipulate it (or any font) in ArcGIS Pro to do your typographic bidding.
This post is part three of a series with John Nelson on digitizing the aesthetic of woodcut block-prints for cartographic purposes. In Part One, I told you the story of carving and printing a map by hand. What I didn’t tell you was the hardest part was carving the text. Text on maps is usually neat and tidy and really really small. Text carved into wood is usually the opposite of those things.
The font I started with was Copperplate Gothic Light:

But it was merely a starting point. I don’t think I ever had any illusions of being able to carve it precisely:

As you can see, that the resulting font is not Copperplate Gothic Light. It is something entirely new, and fairly wonky. I wasn’t trying to make it wonky – but this is the wonderful thing about woodcut – you don’t get a choice.
In Part Two, John recreated my map in ArcGIS Pro with all the same charm, but in a tiny fraction of the time it took me to carve and print it. (Was I jealous? Yes.) All that was missing was the font.
So I dowloaded FontForge and got to work. This is an open source software that lets you build your own installable font. I’m not going to get too far into the details of how to use this neat little program, because there’s already a ton of great documentation available. But here’s a primer:
Open FontForge and select “New”. You’ll get an empty grid of characters:

Double click on one of these cells to open it. You’ll get a blank canvas with some simple draw tools. And at this point you might stare at that blank canvas and despair.
But you should not, because you have a font you are trying to mimic, right? One that you saw on an old map perhaps. Grab a screenshot of your favorite letter, choose File > Import, and you’ve got something to trace:

Unlike a real type face, my woodcut map had many different variations of each letter. I picked one of each and traced simplified versions of them into my new digital font:

Most fonts are modeled after lines made by pen or brush. These letters instead had been formed by a knife carving away the space around them. The resulting shapes reveal that process. It’s subtle, until you try to trace the shapes using vector paths: the strokes tend towards concave instead of convex, the ends flare instead of taper, the spaces between strokes are determined by the smallest tool. And when my hand slipped the knife made small notches and gaps in the letters.

Once you’ve tested, tidied and finalized your font, you can export and install it. And of course – use it on your map! You can download my woodcut font here: WoodcutMap.ttf

ArcGIS Pro
Whether you’ve spent the weekend building the perfect font or searching for it, once you start using it on your map it will probably still need some tweaking. The good news is that ArcGIS Pro offers a whole cornucopia of properties for text. This next part of the tutorial is just going to graze the surface of those options, and show you a few tricks for getting the most out of your chosen font.
One of the biggest differences between regular text use and cartographic text use is the need for outlines or halos. All that geography behind the text can make it very hard to read if you don’t give the letters some space to breathe:

But what is the difference between an outline and a halo?
OUTLINES draw on top of the letters:

In this illustration I used a transparent color to show that they work the same way as polygon outlines: the outline is positioned exactly on the edge of the shape, so half of it draws on top of the letter, and the other half outside.
This can have the undesired effect of obscuring too much of the letter shapes:

But you can also use this to your advantage. For example when you need a bold or light version of your font and it doesn’t exist, you can add a black or white outline to make the text more or less chunky:
The example below shows the woodcut font with a 3 pt black outline / no outline / a 1.3 pt white outline:

Of course it’s recommended to use a proper font with all of the bold/italic/light variations that you need, but outlines can come in handy when that isn’t an option.
HALOS are different. They draw fully outside of the text shapes:

If you only want to mask out features drawing behind text, halo is the best option for you, since it won’t alter your font in any way.
Once you’ve settled on all of the general properties for your text, you might want to check out some of the formatting properties:

Professional fonts (ie not this woodcut font) are deliberately designed for spacing, and it’s generally good practice not to mess with this. But the cartographer’s needs are a little different from other text users. You sometimes want a label to stretch out luxuriously over a lake, or you’ve got a street name that is just too long for its street. These formatting properties can really help.
In particular, I almost always adjust Line spacing. Fonts are usually designed to be used in blocks of text, like in a book, and so a comfortable buffer between each line is a good thing. But for stacked labels on a map, this tends to be too much space. Here’s the woodcut font with line spacing of 0 pt vs -6 pt:

The new spacing would be too difficult to read in a paragraph, but really helps the map reader associate the place name as one label, instead of two. The more crowded the text is on your map, the more useful this option becomes.
For my map title, I’ve used a combination of the properties described above.

All three pieces of text use a beige halo of 2.5 pt. But the “ANNAPOLIS” text is very large, and I found that it appeared too heavy in comparison with the rest of the map. So I compensated by adding a beige outline of 1 pt, which helps to narrow the letters, and also by stretching the text out a bit with a Letter spacing of 10%.
The map title is made up of text elements added to the layout. You can edit them by selecting (or mutliselecting) them on the Layout Contents pane and selecting Properties.
The rest of my text is stored in an annotation feature class. Annotation gives you full editing control over each individual piece of text. There’s two main ways to change text properties using annotation:
1: EDITING
Select a piece of anno on your map and open the Attributes pane. From here you can edit basic properties like font face, color, and alignment:

You can also press the Symbol button to change more advanced properties, including halos, spacing, and text case.
Hint: Highlight the header of the list of selected features in order to update them all at once:

Text properties can also be edited directly through the attribute table of the annotation layer:

This is a handy way to edit properties in bulk. For example you can use Calculate Field to update all text to use “Woodcut Map” instead of “Copperplate Gothic Light.”
2: SYMBOL COLLECTION
The problem with the editing method described above is that you can bloat your anno layer with too much information. If you have a map with tons of labels, it might become slow as it tries to process all of those individual properties. Setting up a symbol collection that your annotation can simply refer to will make your data smaller and your map faster. Here’s how:
Find your anno layer in the Catalog pane.
Right click on it and choose Annotation Feature Class Properties.
A new pane will open, showing a list of text symbols in the Symbol Collection:

You can press the + button to make a new symbol, but if you don’t want to start from scratch, double click on the default symbol instead. This will open its properties, which you can edit and save as a new symbol. I created two new symbols using the woodcut font. They both have 2.5 pt beige halos, but they use different font sizes.

Don’t forget to press Apply to commit these new symbols!
Open the attribute table for your annotation layer. There is a field there called SymbolID. Most likely all records have a value of 0. This is referring to the Default symbol in your symbol collection. I replaced this 0 with 9 for most of my text, and 8 for a few of the larger towns. The other values in the attribute table update accordingly, as does the map:

You can download the project package for the above map here: Annapolis River Woodcut Font
And if you missed it above, you can download the font itself here: WoodcutMap.ttf


Commenting is not enabled for this article.