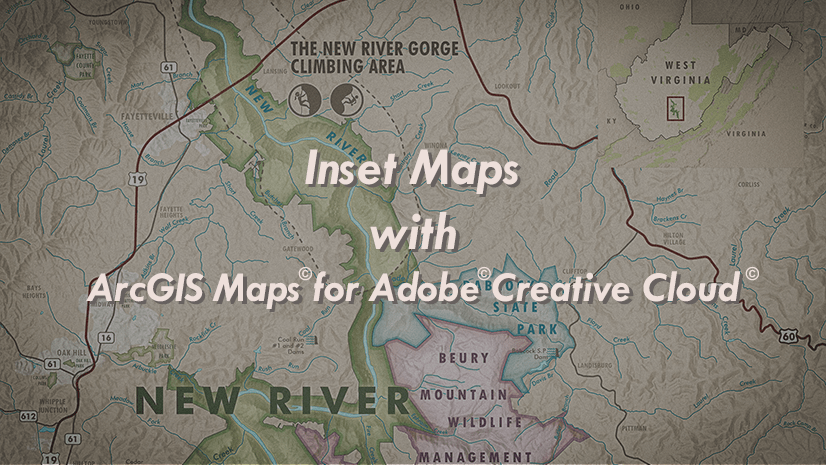
Did you know that you can now make maps with vector tile basemaps & layers in Adobe Illustrator & Photoshop using ArcGIS Maps for Adobe Creative Cloud? What does this new feature mean exactly? Well, ever since the Maps for Adobe Creative Cloud recent 3.0 release, those with an ArcGIS Online or Enterprise account can sync well-organized maps as .AI files using vector tile layers and vector tile basemaps. This new widely requested feature benefits cartographers and map designers in many ways. Users can follow different workflows to take advantage of this feature. This post describes these four workflows. Now let’s get started using vector tile layers in Maps for Adobe Creative Cloud.
Wait? Add vector tile basemaps and layers with What?
Esri’s Maps for Adobe Creative Cloud extension allows users to create maps directly inside of Adobe Illustrator. If you are familiar with this mapping extension for Adobe Illustrator and Photoshop, you can jump to the next section. With Maps for Adobe Creative Cloud, mapmakers can add vector and raster map data layers from ArcGIS Online, ArcGIS Enterprise, and their local disk to the extension, and download their compiled layers as an Adobe Illustrator (AI) file with a well-organized layer structure. The downloaded AI file is in a ready-to-design state. Users can also add hosted web maps. Maps for Adobe Creative Cloud 3.0 supports ArcGIS Enterprise accounts as well. Read more about the latest updates here. Of course, there is so much that users are able to do with this extension. If Maps for Adobe Creative Cloud is new to you, I encourage you to check out the product page for more information.

Workflows for using vector tile layers & basemaps
There are two main Maps for Adobe Creative Cloud workflows:
- The extension-direct workflow
- The ArcGIS Pro-to-Illustrator workflow
In the extension-direct workflow, users create maps with the extension directly in Illustrator. The ArcGIS Pro-to-Illustrator workflow allows users to export their ArcGIS Pro-generated maps and layouts as AIX files. These AIX files can then be opened in Illustrator when Maps for Creative Cloud is installed (requires an ArcGIS account). In both workflows, users can incorporate vector tile layers and basemaps into their maps. Furthermore both workflows provide users with a well-organized layer structure in their resulting AI file.
There are many great resources for creating and styling vector tile layers and vector tile basemaps. You can even style your own by modifying one of Esri’s already-existing basemaps to match your desired style or brand. For those of you who like to design your own vector tile layers and basemaps, it is best to start simple for best results in Illustrator. For the purposes of Maps for Adobe Creative Cloud’s new vector tile capability, users can add a vector tile service as a layer, or they can choose from one of Esri’s vector tile basemaps as they create a map. Here are the four different workflows that users can follow:
- Extension-direct workflow and vector tile basemaps
- Extension-direct workflow and vector tile layers
- ArcGIS Pro-to-Illustrator and vector tile basemaps
- ArcGIS Pro-to-Illustrator and vector tile layers
Extension-direct workflow and vector tile basemaps
With the Default mapping profile setting, ArcGIS Online and Enterprise users can choose from many of Esri’s vector tile basemaps in the Maps for Adobe Compilation panel. These authoritative maps are created by professional cartographers, and are smartly designed to update with appropriate detail determined by map scale. And because they are vector maps, they become editable vector artwork in Adobe Illustrator, giving graphic designers and mapmakers the freedom to apply their own creative touch to the artwork.
The image below shows the Maps for Adobe Creative Cloud basemap selector for the new Default mapping profile. You may recognize many of these Esri vector basemaps. A note for those who want to use the The Natural Earth and VectorStreetMap; although these two basemaps are vector-based, they are not vector tiles. To use the Natural Earth and VectorStreetMap basemaps, users must switch to the Legacy mapping profile setting. Note that the Legacy mapping profile will be retiring in October 2024.
Steps
- In the Mapboards panel, create your mapboard
- In the Compilation panel, open the basemap selector.
- Click the thumbnail for the vector tile basemap that you want to use.

In the above image, I first drew a mapboard over Great Britain and Ireland and set the scale to 1:4 million. Then in the Compilation panel, as this image shows I clicked the Navigation vector tile basemap to add to my map. The map’s detail is determined by the scale that I set in the Mapboards panel. Notice that the basemap layers are not listed in the contents pane. Instead, you can only see the basemap name Navigation. However, you will get individual layers in the resulting Illustrator file. This finely organized deliverable allows mapmakers to easily find and select artwork (AI features) based upon their category.
The image below demonstrates this layer structure in Illustrator, listing the Navigation basemap layers as they appear after syncing the map. The layers in this list are determined by the map the user selects, and the map scale (zoom level). If I would have made a larger scale (zoomed in) map of just London, in this Navigation basemap for example, you will get details such as city streets and building footprints. Layers may differ by basemap.

Extension-direct workflow and vector tile layers
To add vector tile layers to your map following the extension-direct workflow, perform these steps:
- Create a mapboard in the Mapboards panel.
- In the Compilation panel, search for the layer you would like to add from the library where it is located. For my search, I have a vector tile layer created for the National Hydrography Dataset waterbodies in My Content library. Alternatively, if you know the URL for the vector tile layer that you want to use you may also select the ArcGIS Online URL option (see image below). Then paste the URL in the search text area.
- Click the vector tile layer item’s plus/add button to add it to your map
Just as in adding vector tile basemaps, when you add a vector tile layer, only the name of the service will appear in the contents pane. However, each individual layer will be available in the downloaded AI file.

ArcGIS Pro-to-Illustrator and vector tile basemaps
To use vector tile basemaps following this workflow, follow these steps:
- In ArcGIS Pro, with a map activated, select the Map tab from the ribbon.
- In the basemap selector, choose a vector tile basemap. Again, the individual layers from the basemap will not appear in the contents pane. See the image below, the Navigation basemap is selected.
- Once your map or layout is ready, share the map as an AIX file and open it in Illustrator while signed into Maps for Adobe Creative Cloud.

ArcGIS Pro-to-Illustrator and vector tile layers
To add vector tile layers using this workflow:
- In ArcGIS Pro, with a map activated, select the Map tab from the ribbon.
- In the Add Data option, choose a) Data, or if you know the layer’s URL select b) Data From Path. See image below.
- Add the map:
- If you selected Data as your option, in the Add Data pane, navigate to the layer’s location. You may narrow your search by entering a search term in the search text area. Once you locate the layer, select it and click OK.
- If you selected Data From Path, enter the URL in the path text area, and then add to your map by clicking Add.

Now explore the fun!
I could write so much on each topic covered in this post (and I will), but I hope this post is enough to get you started with the new vector tile basemaps & layers capabilities. But guess what? I have written more! Check out my new book, Mapping By Design: A Guide to ArcGIS Maps for Adobe Creative Cloud available now! Also, check out these past tutorials and posts that myself and others have written on the topic. I look forward to diving into the details of working with Maps for Adobe with you all soon.


Article Discussion: